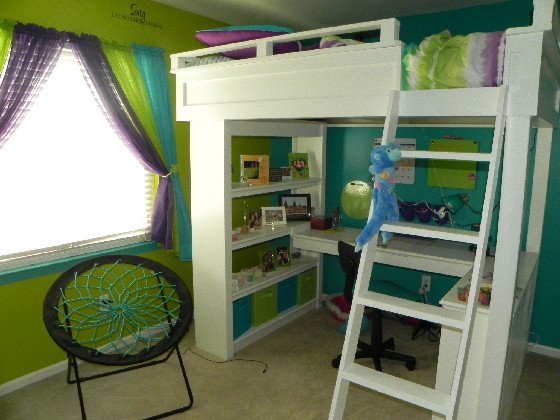
 I made a message board to fit on the side of the shelf on this loft. The finished measurement is 12″ wide by 62″ long. Materials needed are, 2 yards of fabric, 7 1/2 yards of ribbon, 2 yards of batting, one piece of 1/4″ plywood cut to size, 2 covered buttons, 2 screws, 20″ of nylon string. You also need a measuring tape, a staple gun and staples, a piece of chalk, a drill, and a screwdriver.
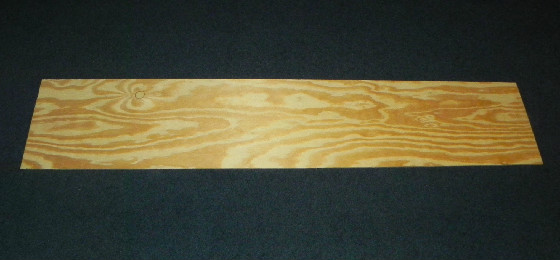
 Start with a 1/4″ piece of plywood. You can have it cut to size at your local home improvement store usually for no cost. In this instance I had it cut to 12″ X 62″.
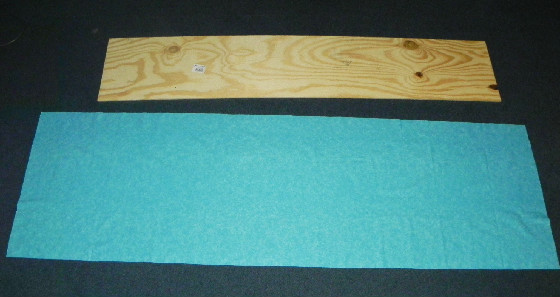
 Then cut your fabric 3″ wider and longer than your piece of wood.

Cut a piece of batting slightly larger than your piece of wood.

Mark your grid lines on the wood. In this instance I have marked the plywood every 10″ along each side starting one inch in from each end, then joined the marks creating a criss-cross pattern on the plywood.

At the top of the board, drill a hole where the lines cross. Repeat at the same intersection at the bottom of the board. These are the holes that I am going to use to attach the message board to the side of the shelf.

Lay your fabric face down on a flat surface, center the batting over the fabric, then place the plywood over the batting.

Wrap the fabric over the board and staple it in place along all sides leaving the corners open.

Pull the fabric tight at each corner and staple into place.

Fold the ends over next then lastly fold the sides stapling them neatly in place much like you would wrap a present.

Using a piece of chalk, make the same marks along the front sides of the board every 10″ like you did on the plywood itself.

Measure the diagonal lines and cut your ribbon 5″ longer. In this instance I cut 12 pieces of ribbon approximately 22″ long.

Staple each piece of ribbon in place along the back of the board at each chalk mark criss crossing them along the front.

The front looks like this.

Staple some nylon string going in one direction away from your drilled hole then staple it once more going back toward the hole. This anchors the string and allows you to pull on it from the right side. Repeat this step at both holes (top and bottom of your board)

Using a large needle, thread both pieces of string thru to the front of the board where the ribbons cross each other. (hint, it is easier to thread one string at a time.)

Position your message board in place and mark each spot where your holes are drilled. Pre-drill a pilot hole, then screw your message board in place.

Cover two buttons with your fabric then attach them to the strings covering over the screws that are holding your message board to the shelf. Tie a few knots to hold the buttons firmly in place then trim the strings.

Here you have the finished project.

Message board


by Susan Dorbeck